Milk bread is a beloved staple across many Asian cuisines, renowned for its soft, pillowy texture and subtle sweetness. From the classic loaves of Japanese shokupan to the delectable buns found in Chinese bakeries, this bread is as versatile as it is delicious. Whether you’re shaping it into loaves, rolls, or creative buns, mastering this recipe allows you to bring the charm of bakery-style perfection right to your kitchen.
In this guide, we’ll uncover the secrets behind milk bread’s unique characteristics, walk through a detailed recipe, and share tips for achieving flawless results every time. Get ready to enjoy a baking experience that’s as satisfying as the bread itself!
What Is Milk Bread?
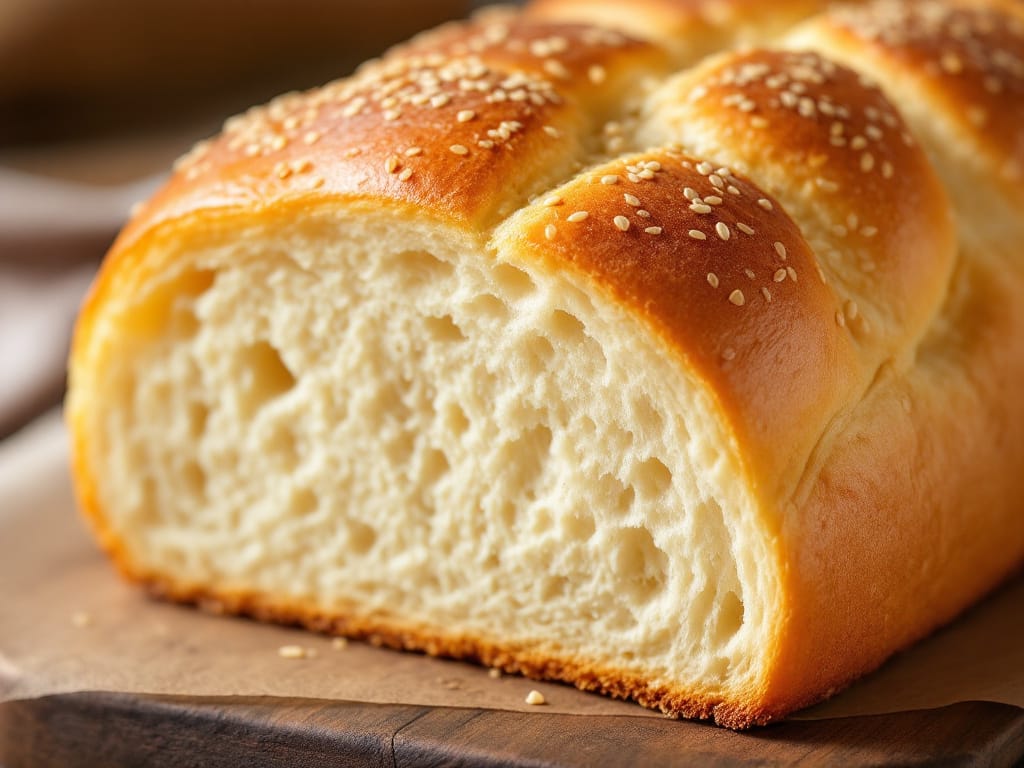
Milk bread, widely known as shokupan in Japan or Chinese bakery milk bread, is an enriched bread renowned for its soft, cloud-like texture and rich flavor. Its unique quality comes from the incorporation of milk, eggs, and butter, which create an incredibly tender crumb. Unlike traditional bread, milk bread pulls apart effortlessly, making it a versatile favorite for sweet and savory creations alike.
The Tangzhong Method
One of the most effective techniques for achieving the signature fluffiness of milk bread is the Tangzhong Method. This method involves cooking a mixture of flour and liquid (often water or milk) into a roux before adding it to the dough. The result is a loaf that retains moisture, stays fresh longer, and has a beautifully tender texture.
Choosing the Right Yeast
For those new to baking, understanding the How to Make Milk Bread is crucial to success. Both instant yeast and active dry yeast work well in enriched doughs like milk bread. While instant yeast can be added directly to the mix, active dry yeast may require blooming in warm liquid to activate it. Choosing fresh, quality yeast ensures optimal rise and a perfect crumb.
Key Ingredients for Milk Bread
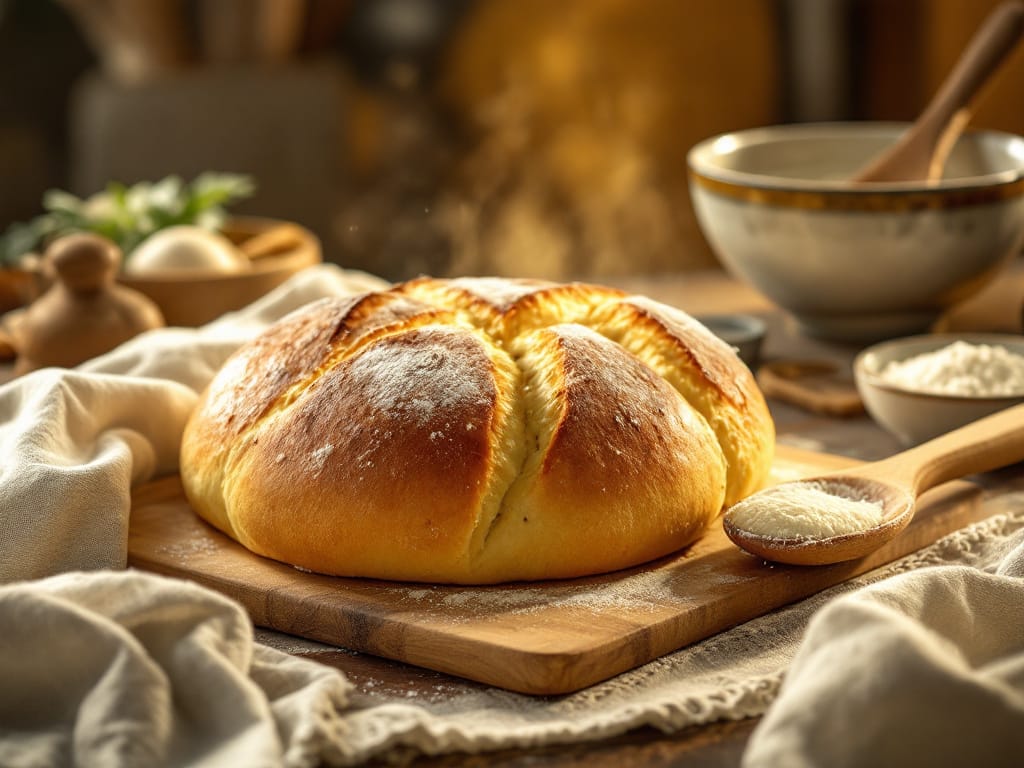
Creating perfect milk bread relies on a handful of simple, wholesome ingredients that work together to produce its soft, fluffy texture and subtle sweetness. Here’s a closer look at each component:
1. Flour
- All-purpose flour is versatile and works well in most recipes.
- For a finer crumb, combine cake flour with bread flour for enhanced softness and elasticity.
2. Milk
- Use whole milk or 2% milk for a creamy flavor and moisture.
- Milk contributes to the enriched nature of the dough, making it tender and flavorful.
3. Eggs
- Eggs add richness and improve the bread’s structure.
- They also give milk bread its characteristic golden hue.
4. Butter
- Butter introduces moisture and ensures a soft, tender crumb.
- Use room-temperature butter for even mixing.
5. Yeast
- Both active dry yeast and instant yeast work well.
- Ensure the yeast is fresh for a proper rise and light texture.
6. Sugar
- Sugar provides a gentle sweetness that enhances flavor.
- It also aids in creating a beautifully browned crust during baking.
By carefully selecting and balancing these ingredients, you’ll achieve a loaf of milk bread that is irresistibly soft, flavorful, and bakery-perfect!
Step-by-Step Milk Bread Recipe
Making milk bread at home is straightforward when you follow these easy steps. Each stage is essential to achieving that soft, fluffy texture and rich flavor that makes this bread so special.
1. Preparing the Dough
- Combine all the ingredients in a mixing bowl:
- Milk, heavy cream, eggs, sugar, flour, yeast, and salt.
- Knead the dough:
- Use a stand mixer with a dough hook attachment or knead by hand for about 15 minutes.
- The dough should feel soft and slightly sticky but manageable.
2. First Proofing
- Cover the bowl with a damp towel and place it in a warm spot.
- Allow the dough to rest until it doubles in size, approximately 1–2 hours.
- Pro Tip: Speed up proofing by placing the bowl in a microwave with a mug of hot water. This creates a warm and humid environment ideal for rising.
3. Shaping and Second Proofing
- After the first proof, divide the dough into equal portions.
- Shape into rolls, knots, or loaves based on your preference.
- Transfer the shaped dough into greased pans.
- Cover and let it proof again for about an hour, or until the dough has puffed up nicely.
4. Baking
- Preheat your oven to 350°F (175°C).
- Brush the surface of the dough with an egg wash to achieve a golden crust.
- Bake for 23–25 minutes until the bread is lightly browned and cooked through.
- For an extra touch:
- Brush the warm bread with sugar syrup (a mix of sugar and hot water) to give it a glossy finish and a hint of sweetness.
With this method, you’ll enjoy pillowy milk bread that’s perfect for everything from breakfast toast to sandwich bread. Follow these steps, and you’ll have a bakery-quality loaf right from your own kitchen!
Tips for Success
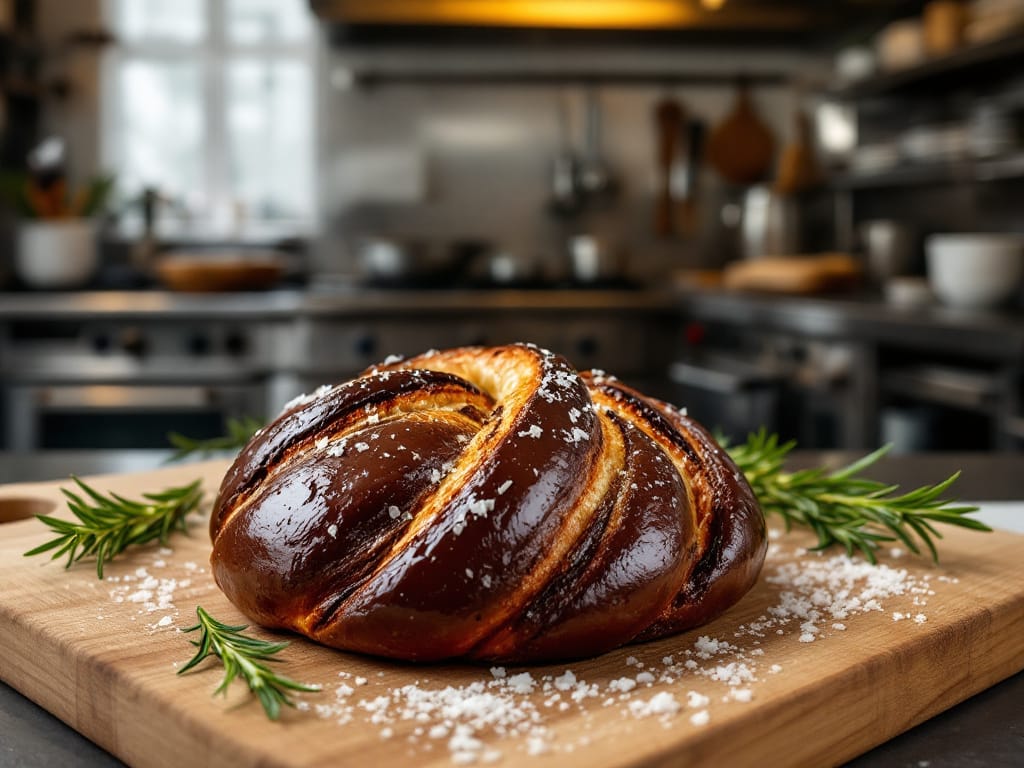
Achieving the perfect milk bread takes some practice, but with these tips, you’ll be well on your way to bakery-quality results.
Common Mistakes and Fixes
- Sticky Dough:
- If the dough feels overly sticky, add flour one tablespoon at a time.
- Be cautious—adding too much flour can result in dense bread.
- Dense Texture:
- Allow enough time for proofing to ensure the dough rises properly.
- Always use fresh yeast to guarantee optimal rise.
- Burnt Crust:
- If the crust browns too quickly, cover the bread with foil halfway through baking.
Storage and Reheating
Proper storage ensures your milk bread stays fresh and delicious:
- Room Temperature: Store in an airtight container for 2–3 days.
- Refrigeration: Extend freshness by storing in the fridge for up to 5 days.
- Freezing: Place in freezer-safe bags, then thaw and microwave for 15–30 seconds to restore softness.
Variations of Milk Bread
Milk bread is incredibly versatile and serves as the foundation for many delicious recipes:
- BBQ Pork Buns (Char Siu Bao): A savory favorite filled with sweet and smoky pork.
- Pineapple Buns: A classic dessert featuring a crumbly, sugary topping.
- Cinnamon Rolls: Transform milk bread into a breakfast delight with a spiced filling.
For more creative twists, explore How to Make Bread Without Yeast or Milk to expand your repertoire and take your milk bread game to the next level!
With these tips, your milk bread will turn out soft, fluffy, and irresistible every time.
Frequently Asked Questions
Do I Need to Bloom the Yeast?
No, blooming the yeast is not necessary for milk bread. Both instant yeast and active dry yeast can be added directly to the mix. However, it’s important to ensure all wet ingredients, such as milk and eggs, are at room temperature for the yeast to activate effectively.
Can I Use a Bread Maker?
Yes, you can use a bread maker to mix and knead the dough. However, for optimal results, consider proofing and shaping the dough manually. Bread makers may not provide the same level of control over the proofing process, which is key to achieving soft, fluffy milk bread.
Can I Make the Dough in Advance?
Absolutely! To prepare ahead, allow the dough to complete its first proofing in the refrigerator overnight. When you’re ready to bake, bring the dough to room temperature, then proceed with shaping, second proofing, and baking as usual. This method is convenient and does not compromise the bread’s soft, tender texture.
Conclusion
Milk bread is a delightful and versatile baking staple that brings together simplicity, flavor, and texture in every bite. Whether you’re new to baking or an experienced bread enthusiast, mastering this recipe opens up a world of possibilities for creating soft, fluffy loaves, rolls, and even creative variations like cinnamon buns or BBQ pork buns. With the tips and techniques shared here, you can confidently bake milk bread that rivals your favorite bakery’s offerings.
So, roll up your sleeves, gather your ingredients, and let the warm aroma of freshly baked milk bread fill your kitchen. Once you take that first bite, you’ll understand why this bread has earned a special place in the hearts of bakers and food lovers around the world. Happy baking!

