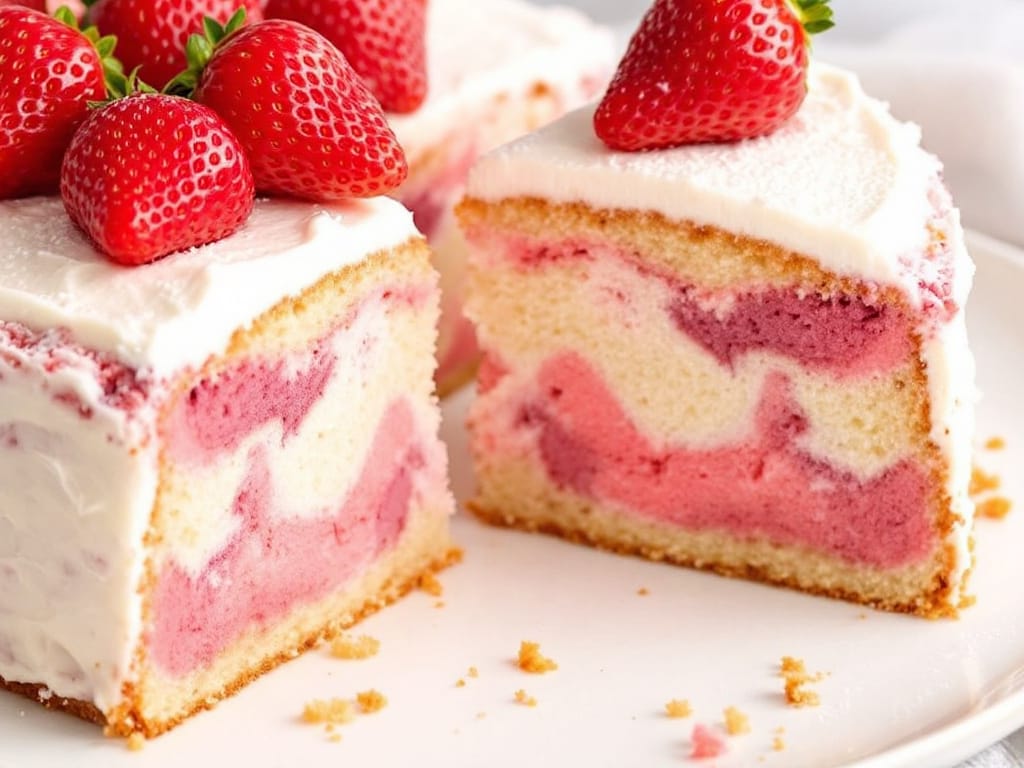
Marble cake is a timeless dessert celebrated for its elegant swirls of vanilla and chocolate batters. Known for its soft, moist texture and harmonious blend of flavors, this cake is perfect for every occasion—be it a festive celebration or a cozy weekend indulgence. In this comprehensive guide, we’ll explore step-by-step instructions, pro tips, and creative variations to help you bake the perfect marble cake. Whether you’re a seasoned baker or a beginner, get ready to master this delightful classic!
How to Prepare Marble Cake
Marble cake is a classic dessert beloved for its beautiful swirls of vanilla and chocolate batters. Its soft texture and perfect balance of flavors make it a favorite for any occasion, whether you’re celebrating a birthday or simply indulging in a weekend treat. In this guide, we’ll cover everything you need to know to create the perfect marble cake, from preparation to serving.
Why Prepare Marble Cake?
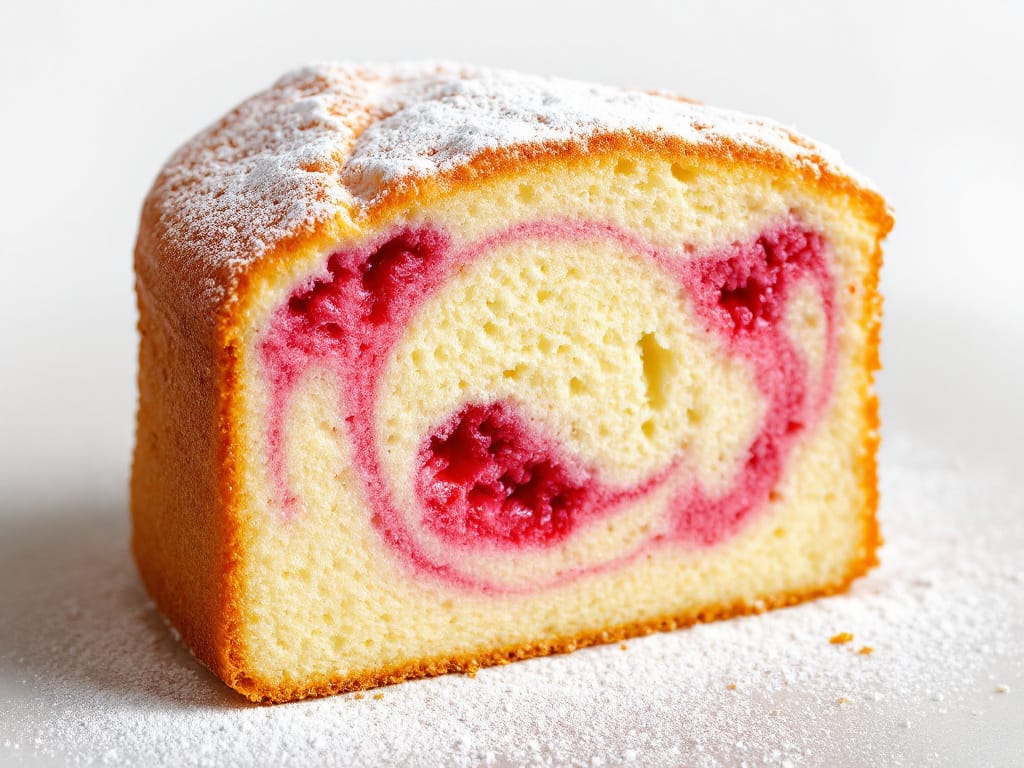
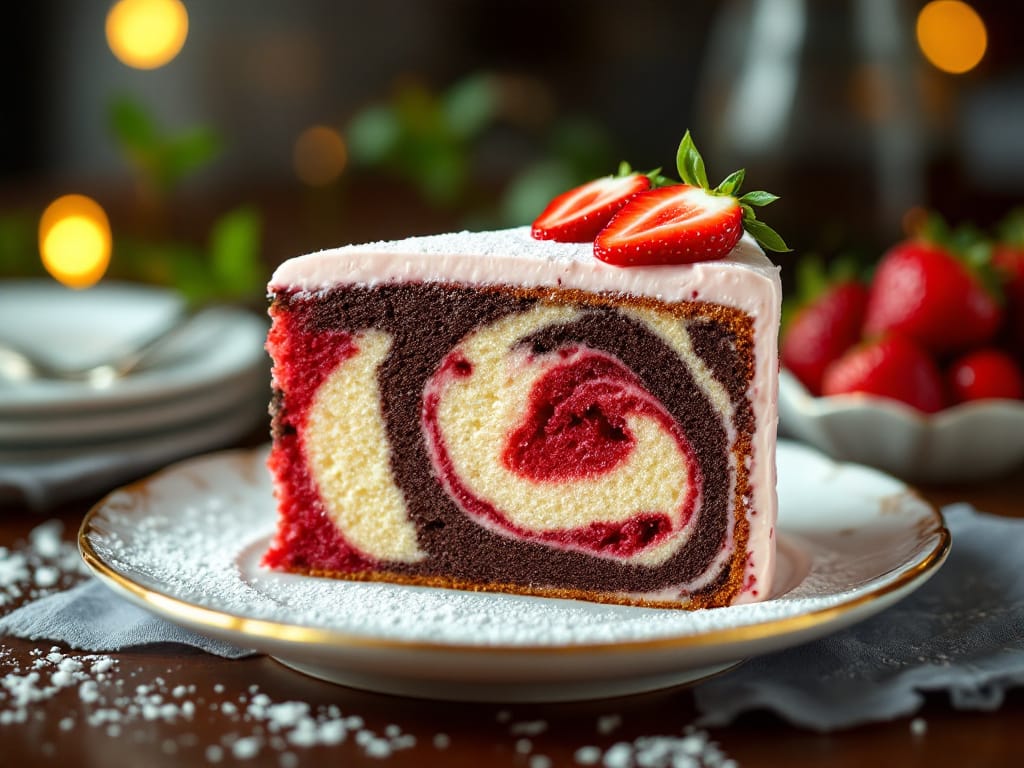
The marble cake stands out because it combines the best of two worlds—chocolate and vanilla. Its swirling patterns not only make it visually stunning but also ensure that every bite has a delightful mix of flavors.
Want to understand the science behind its moist texture and intricate swirls? Visit Homemade Marble Cake for insights into the art of baking.
From its satisfying texture to its elegant appearance, marble cake is a versatile choice that can be customized with various flavors, shapes, and serving styles. For more tips on preventing common baking mistakes, explore How to Make Fish Soup Recipe and elevate your baking skills.
Essential Ingredients
To prepare a moist and fluffy marble cake, you’ll need the following ingredients:
- Flour: Provides structure to the cake, ensuring it holds its shape.
- Sugar: Sweetens the cake while also aiding in moisture retention.
- Butter: Adds richness, flavor, and tenderness to the batter.
- Eggs: Bind the ingredients and contribute to the cake’s fluffy texture.
- Milk: Keeps the batter smooth and ensures a moist crumb.
- Cocoa Powder: Creates the chocolate portion of the batter for the signature swirl.
- Vanilla Extract: Enhances the overall flavor, balancing the sweetness.
- Baking Powder: Acts as a leavening agent to help the cake rise evenly.
- Salt: Balances sweetness and enhances the natural flavors of the ingredients.
If you’re worried about baking mishaps or want to refine your technique, check out How to Make a Homemade Ice Cream Cake? for expert tips on avoiding common errors and achieving perfect results every time.
Tools and Equipment
To prepare the perfect marble cake, make sure you have the following tools and equipment on hand:
- Mixing Bowls: Ideal for separating and preparing the vanilla and chocolate batters.
- Spatula: Helps fold the batter gently without deflating its airy texture.
- Cake Pan: Choose round, loaf, or bundt pans to create unique shapes that suit your presentation style.
- Knife or Skewer: Essential for swirling the batters together to achieve the signature marbled effect.
- Oven Thermometer: Ensures your oven is at the correct temperature for an even bake, preventing over- or under-baking issues.
Having the right tools can make a significant difference in the final result, so prepare your workstation with these essentials before you begin baking.
Step-by-Step Instructions
Follow these detailed steps to prepare the perfect marble cake:
1. Prepare the Batter
- Preheat your oven to 350°F (175°C) and grease your cake pan thoroughly. Use butter or a non-stick spray to prevent sticking.
- In a mixing bowl, cream the butter and sugar together until the mixture is light and fluffy. This step is crucial for a tender texture.
- Add the eggs one at a time, beating well after each addition to ensure a smooth and creamy consistency.
- Mix in the vanilla extract, which enhances the flavors of both the chocolate and vanilla batters.
- In a separate bowl, whisk together the flour, baking powder, and salt. Gradually add this dry mixture to the wet ingredients, alternating with milk. Begin and end with the dry mixture for the best results.
2. Create the Marble Effect
- Separate one-third of the prepared batter into a small bowl. Mix it with cocoa powder and a splash of milk to create the chocolate batter.
- In the prepared cake pan, alternate spoonfuls of the vanilla and chocolate batters to create layers.
- Using a knife or skewer, gently swirl the batters together in a figure-eight motion to achieve the marbled effect. Be careful not to over-swirl, as this can blend the batters too much and lose the distinct patterns.
3. Bake the Cake
- Place the pan in the preheated oven and bake for 30–40 minutes. Check for doneness by inserting a toothpick into the center of the cake. If it comes out clean, the cake is ready.
- Remove the cake from the oven and let it cool in the pan for 10 minutes. This helps the cake firm up slightly and makes it easier to remove.
- Transfer the cake to a wire rack to cool completely before slicing and serving.
Variations and Tips
Looking to prepare your marble cake even more unique? Try these variations and expert tips to customize your recipe:
1. Flavor Boosters
- Add a teaspoon of espresso powder to the chocolate batter for a rich, mocha-inspired flavor.
- Sprinkle a pinch of cinnamon or nutmeg into the vanilla batter for a warm, spiced twist.
- Experiment with citrus zests like orange or lemon to create a refreshing contrast.
2. Dietary Adaptations
- Gluten-Free Option: Replace regular flour with a high-quality gluten-free flour blend. Ensure your baking powder and cocoa powder are also gluten-free.
- Vegan Option: Substitute butter with a plant-based alternative, use flaxseed or chia seed as an egg replacement, and choose a non-dairy milk like almond or soy.
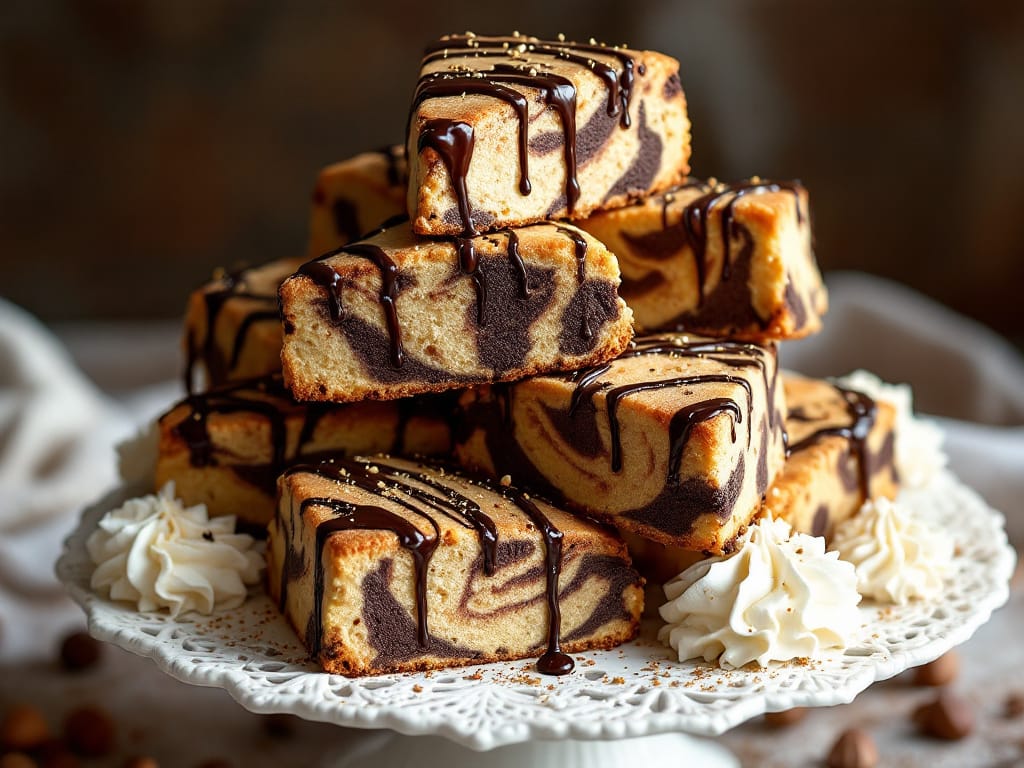
3. Creative Swirls
- Experiment with different swirling techniques, such as a simple zigzag or figure-eight pattern, to achieve artistic effects.
- Use contrasting layers of chocolate and vanilla batter to create more defined and visually appealing swirls.
- Sprinkle chocolate chips or nuts into the batter for added texture and surprise flavors.
Common Mistakes and Solutions
Even experienced bakers can encounter challenges while making a marble cake. Here are some common mistakes and how to avoid them:
1. Dry Cake
- Problem: The cake turns out dry and crumbly instead of moist and tender.
- Solution: Avoid overmixing the batter, as this can develop too much gluten and result in a dense texture. Measure ingredients accurately, and use a kitchen scale for precision.
2. Uneven Swirls
- Problem: The marbled effect looks muddled or inconsistent.
- Solution: Use a steady hand and a light touch when swirling the vanilla and chocolate batters. Over-swirling can blend the colors too much, so aim for distinct patterns by using gentle, deliberate movements.
3. Sunken Center
- Problem: The center of the cake collapses during baking or cooling.
- Solution: Ensure your oven is preheated and maintains the correct temperature throughout the baking process. Use an oven thermometer to verify accuracy, and avoid opening the oven door too early, which can cause the cake to deflate.
FAQs About Marble Cake
Have questions about making the perfect marble cake? Here are answers to the most common queries:
1. Why is my marble cake dry?
- Problem: Overbaking or incorrect ingredient measurements can result in a dry texture.
- Solution: Use a kitchen scale for precise measurements and check the cake a few minutes before the recommended baking time. Remove it from the oven as soon as a toothpick inserted into the center comes out with just a few moist crumbs.
2. How can I achieve perfect swirls?
- Technique: Pour the vanilla and chocolate batters in alternating layers within the pan.
- Pro Tip: Use a knife or skewer to gently swirl the batters together. Avoid overmixing to maintain the distinct and artistic patterns.
3. Can I use a boxed cake mix?
- Answer: Absolutely! Start with a vanilla boxed cake mix, and enhance it by adding high-quality cocoa powder to a portion of the batter. For an extra flavor boost, mix in a teaspoon of vanilla extract.
4. How long does marble cake stay fresh?
- Storage Tips: Keep your cake in an airtight container at room temperature for up to three days. For longer storage, refrigerate it for up to a week or freeze individual slices for up to three months.
Conclusion
Marble cake is a timeless treat that combines the best of both vanilla and chocolate, making it a perfect dessert for any occasion. With its beautiful marbled appearance, soft texture, and rich flavors, it’s sure to impress your guests or provide a sweet indulgence for yourself. By following the simple steps in this guide and experimenting with variations and techniques, you’ll be able to master the art of making marble cake. Whether you’re a seasoned baker or a beginner, this delightful dessert is always a rewarding experience to create and enjoy!

